Quick Facts:
Time: ~2h 25m • Yield: 1 (8-inch) cake • Skill: Intermediate • Method: One-pan sponge + whip & assemble • Diet: Vegetarian
Introduction
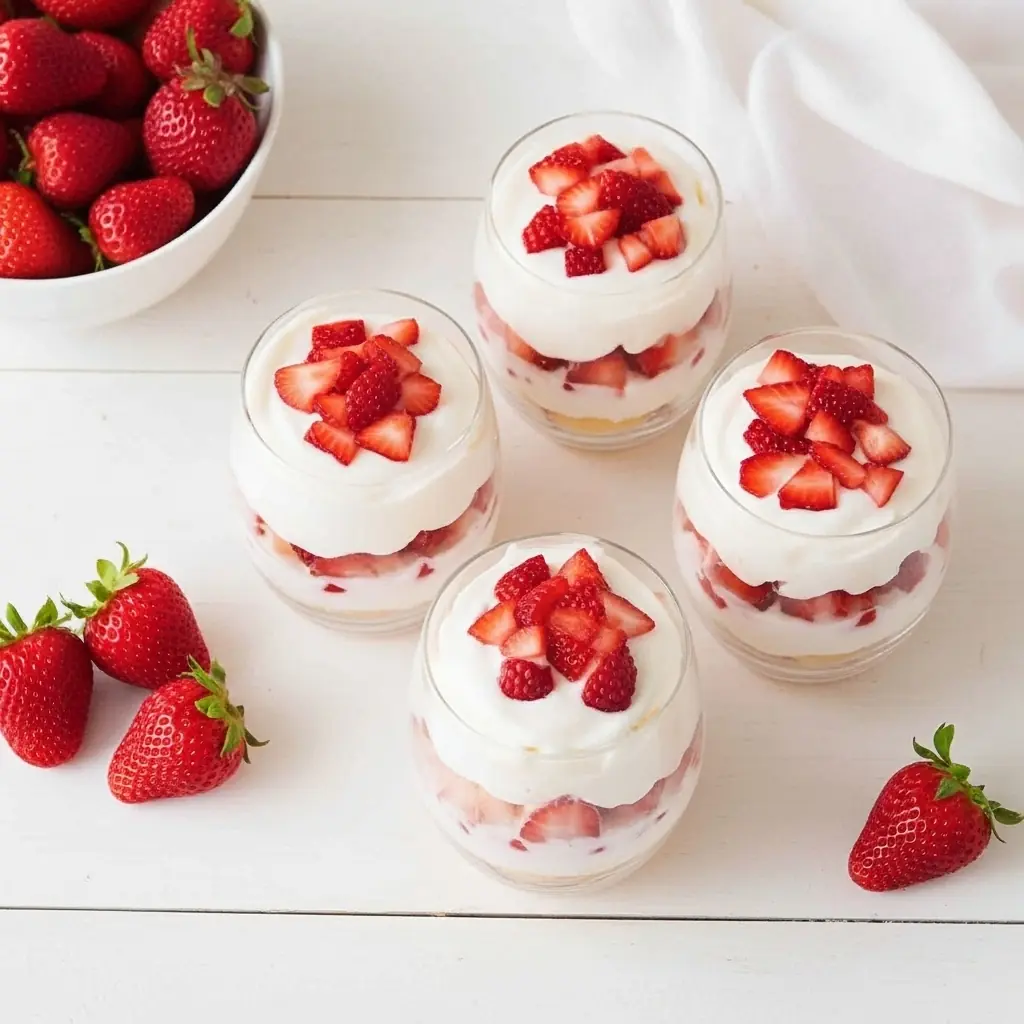
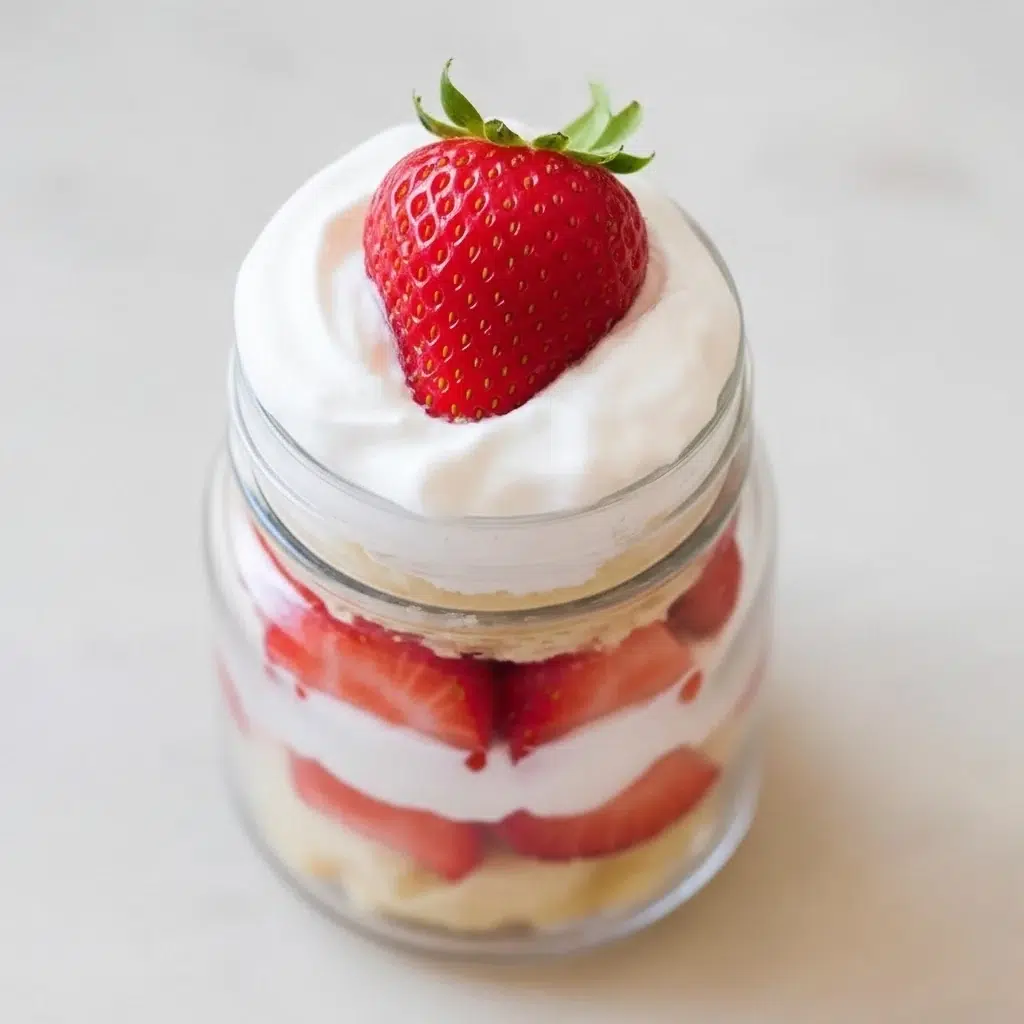
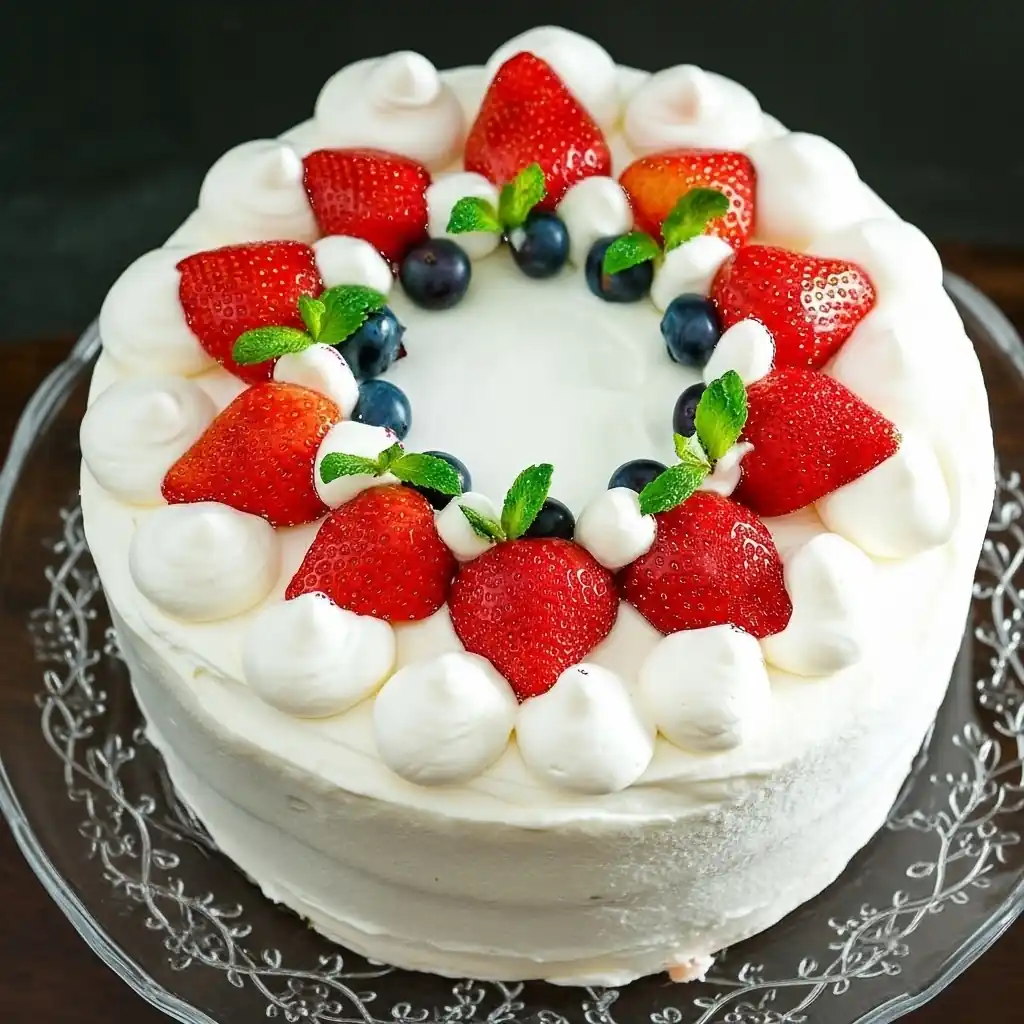
Strawberry Shortcake should be feather-light, delicately sweet, and crowned with glossy, fresh berries—no heavy frosting, no dry crumb. This version uses a chiffon-style sponge layered with softly whipped cream and strawberries, giving you that classic Japanese bakery look and melt-in-the-mouth bite. Expect a moist, bouncy crumb, cool cream, and bright berry freshness in every forkful. It’s perfect for birthdays, holidays, or any time you crave something elegant yet comforting. If you’ve been searching for Japanese Strawberry Shortcake, Easy Strawberry Shortcake, or a cake with true Strawberry Shortcake Aesthetic, this guide keeps you on track from batter to final swirls.
Craving variations? See our Strawberry Shortcake recipes for mini cakes, sheet cakes, and party-size builds.
Why You’ll Love It
- Weeknight-easy: clear timing, simple methods, reliable cues.
- Flexible: use the best berries you find; adjust sweetness to taste.
- Balanced flavor: light sponge, silky cream, bright berry acidity.
- Great leftovers: holds beautifully when chilled overnight.
Strawberry Shortcake — Light, Elegant, Celebration-Ready
- Total Time: 2 hours 25 minutes
- Yield: 1 (8-inch) cake
- Diet: Vegetarian
Description
Feather-light Japanese-style Strawberry Shortcake with a chiffon-like sponge, softly whipped cream, and glossy fresh strawberries. Moist, bouncy layers + cool cream + bright berries make it perfect for birthdays, holidays, or any elegant celebration—no heavy frosting, no dry crumb.
Ingredients
For the sponge (8-inch):
– Cake flour – 1 cup (sifted)
– Granulated sugar – ½ cup + 2 Tbsp, divided
– Large eggs – 4
– Whole milk – 2 Tbsp
– Neutral oil or melted unsalted butter – 3 Tbsp
– Vanilla – 1 tsp
– Pinch of fine salt
For the syrup:
– Sugar – 3 Tbsp
– Water – 2 Tbsp
For the cream & filling:
– Heavy whipping cream – 2 cups (well chilled)
– Sugar – 3 Tbsp
– Fresh strawberries – about 1 pint; hulled (some sliced for filling, some whole for topping)
Instructions
1) Prep & preheat: Heat oven to 325–340°F (165–170°C). Line the bottom of a light-colored 8-inch round pan with parchment; do not grease the sides.
2) Whip eggs + sugar: Beat eggs with sugar until thick, pale, and ribboning (the foam is your main lift).
3) Fold in drys: Sift cake flour + salt over the batter; fold gently until just combined.
4) Temper liquids: Mix milk with oil/butter. Stir in a scoop of batter to lighten, then fold back into the main batter.
5) Bake: Pour into pan and bake until springy and a skewer comes out clean (about 20–25 minutes, depending on oven/pan).
6) Cool: Invert onto a rack to cool. Once barely warm, cover with a damp (not wet) cloth to prevent drying.
7) Make syrup: Dissolve sugar in water; cool completely.
8) Whip cream: With cold cream and bowl, whip to medium peaks (soft shine; holds shape but curls at the tip).
9) Slice cake: Cut sponge into 2 even layers with a serrated knife.
10) Assemble: Brush bottom layer lightly with syrup. Spread cream, then shingle sliced strawberries (leave the center mostly clear for cleaner slices). Add more cream if needed.
11) Top & coat: Add top layer, brush with syrup, apply a thin crumb coat of cream. Chill 15–20 minutes.
12) Finish & decorate: Smooth final cream coat. Pipe simple rounds around the rim and crown with whole strawberries.
13) Chill to set: Refrigerate 1–2 hours before slicing. Slice with a warm, dry knife for clean cuts.
Notes
– Best texture: whip eggs to a strong ribbon and fold gently to avoid deflating.
– Moist insurance: syrup both layers lightly; don’t over-bake.
– Cream control: medium peaks for filling; slightly stiffer for piping.
– Storage: finished cake keeps 2 days refrigerated. Freeze only the plain sponge (up to 3 months), then thaw and assemble fresh.
– Frozen berries bleed—use fresh for the signature “bakery” look.
- Prep Time: 2 hours
- Cook Time: 25 minutes
- Category: Dessert
- Method: One-pan sponge + whip & assemble
- Cuisine: Japanese-inspired bakery style
Ingredients
For the sponge (8-inch):
- Cake flour – 1 cup (sifted)
- Granulated sugar – ½ cup + 2 Tbsp, divided
- Large eggs – 4
- Whole milk – 2 Tbsp
- Neutral oil or melted unsalted butter – 3 Tbsp
- Vanilla – 1 tsp
- Pinch of fine salt
For the syrup:
- Sugar – 3 Tbsp
- Water – 2 Tbsp
For the cream & filling:
- Heavy whipping cream – 2 cups (well chilled)
- Sugar – 3 Tbsp (about 8% of cream weight for balanced sweetness)
- Fresh strawberries – about 1 pint; similar size, hulled; some sliced for filling, some left whole for topping
What each ingredient does:
Cake flour: tender crumb. Sugar: sweetness + structure. Eggs: lift and moisture. Milk: softness. Oil/butter: suppleness and flavor. Vanilla: aroma. Salt: rounds flavors. Syrup: keeps layers moist. Cream + sugar: pillowy filling. Strawberries: juicy acidity and color.
Pro tip: Use low-sodium ingredients and season sweetness at the end to balance the berries’ tartness.
Substitutions & Swaps
- Aromatics: vanilla → almond extract (¼ tsp) for a twist.
- Dairy/fats: neutral oil yields ultra-soft crumb; butter gives gentle flavor.
- Fruit: swap in raspberries for a Raspberry Shortcake vibe; mixed berries for variety.
- Diet tweaks: lactose-free cream substitutes can work if stabilized; gluten-free cake flour blends that mimic low-protein flour give best results.
- Time savers: bake sponge the day before; chill and slice easily; use pre-hulled berries.
Equipment Notes
A light-colored 8-inch round cake pan (not nonstick) for the most even rise, a wire rack, parchment, stand mixer or hand mixer, offset spatula, serrated knife for halving the cake, and a turntable for smooth frosting (nice to have but optional). If using a 9-inch pan, expect a slightly shorter cake and adjust bake time a few minutes down. A digital scale improves accuracy.
If you’re learning the fundamentals, our Cake Recipes cover mixing methods and doneness cues.
Step-By-Step
- Prep the pan: Line the bottom with parchment; don’t grease the sides—this helps the sponge climb and stay tall.
- Warm the eggs: Room-temperature eggs whip more volume.
- Whip eggs + sugar: Beat to a thick, pale ribbon; this trapped air is your primary leavening.
- Fold in drys: Sift cake flour and salt over the foam; fold gently to avoid deflating.
- Temper fat + milk: Mix oil/butter with warm milk and a scoop of batter, then fold back in to keep the structure while adding tenderness.
- Bake: 325–340°F until the top is springy and a skewer comes out clean; edges lightly golden.
- Cool correctly: Invert onto a rack; once barely warm, cover with a damp (not wet) cloth to prevent drying.
- Make syrup: Dissolve sugar in water; cool.
- Whip the cream: Chill bowl and cream; whip to medium peaks—soft, shiny lines that hold but curl at the tip.
- Slice the cake: Use a long serrated knife to create two even layers.
- Brush & fill: Syrup the bottom layer lightly; add a cushion of cream; shingle strawberry slices, leaving the very center open for cleaner slicing.
- Cap & crumb coat: Add top layer; brush with syrup; apply a thin cream coat to lock crumbs.
- Final coat: Smooth sides and top; clean edges by spinning a turntable or rotating the plate.
- Decorate: Pipe simple rounds around the rim; crown with whole strawberries (and optional blueberries/mint).
- Chill & set: 1–2 hours helps the cream firm and flavors meld. Slice with a warm, dry knife for clean cuts.

Make-Ahead, Storage & Reheating
Bake the sponge up to 1 day ahead; wrap once cool. Whip cream right before assembling. The finished cake keeps 2 days refrigerated; the crumb stays tender and the cream holds well. Freezing isn’t ideal for fresh berries; if you must, freeze the plain sponge up to 3 months and add fresh cream/berries after thawing in the fridge.
How to Lighten / Make It Creamy
To lighten further, replace a portion of cream with plain yogurt folded in off heat (tangy and soft). For extra creaminess, add a spoon of mascarpone to the whipped cream and whip just to medium peaks. To avoid curdling, keep everything cold and don’t over-whip.
Toppings, Garnishes & Finishes
Crunch: toasted sliced almonds or crisp meringue bits.
Fresh: mint, micro-mint, or finely grated citrus zest.
Tang/Heat: a micro-drizzle of lemon juice or a pinch of chili flakes in a tiny dollop of cream for adventurous palates.
Microcopy: A sprinkle, a swirl, a squeeze—your three-second upgrade.
Sides & Pairings
Serve with green tea, jasmine tea, or sparkling water with lemon. For a bigger spread, pair with a simple arugula salad or fruit salad to echo the cake’s freshness.
Planning a bigger spread? Add something from Dessert Recipes to round out the table.
Scaling the Recipe
Double for a tall 9-inch or generous 8-inch celebration cake; bake in two pans for even layers and cool quickly on racks. Halve for a petite 6-inch cake; watch bake time closely so it stays moist.
Nutrition & Dietary Notes
This cake offers moderate sugars and a hit of vitamin C from berries. Contains gluten and dairy; see swaps above for alternatives.
Troubleshooting
- Dense or flat sponge? The egg foam wasn’t whipped enough or deflated during folding.
- Dry layers? Brush a little more syrup and chill briefly.
- Weeping cream? Over-whipped—fold in a splash of fresh cream to loosen.
- Sloppy slices? Leave the center bare of berries and chill 30 minutes before cutting.
FAQs
Can I use frozen or precut berries? Frozen berries bleed; use fresh for best look. Precut works for filling; save whole berries for the top.
What are the best swaps? Try raspberries for a Raspberry Shortcake twist.
How do I keep it moist? Syrup each layer lightly and don’t over-bake.
Dairy-free or gluten-free? Use a reliable GF cake-flour blend and a dairy-free whipping cream alternative that whips to soft peaks.
How long does it keep? 2 days refrigerated is ideal.
Variations
- Lemony Herb: Add lemon zest to the cream; finish with zest and chopped dill/parsley.
- Spicy Chipotle: A tiny drizzle of chili oil on plated slices; balance with honeyed berries.
- Creamy Parmesan (savory riff): Not typical for dessert—skip unless doing a playful course.
Chef Notes / Test Kitchen Tips
The single biggest win is whipping the eggs to a firm, glossy ribbon and folding patiently. Another needle-mover: medium-peak cream for filling (spreads smooth) and slightly stiffer cream for piping (holds shape). Expect the cake to be “done” between 20–25 minutes for layers; total workflow about 2h 25m including cooling and decorating so you can move calmly and cleanly.
Conclusion
This Strawberry Shortcake gives you bakery looks with home-kitchen ease: buoyant sponge, cool cream, and jewel-bright berries. It keeps beautifully for 2 days, so you can bake ahead and relax. If this became your go-to celebration cake, you wouldn’t be alone—pin it, bake it, and share your slice.